
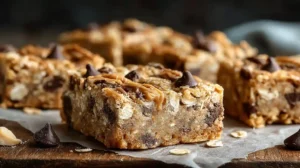
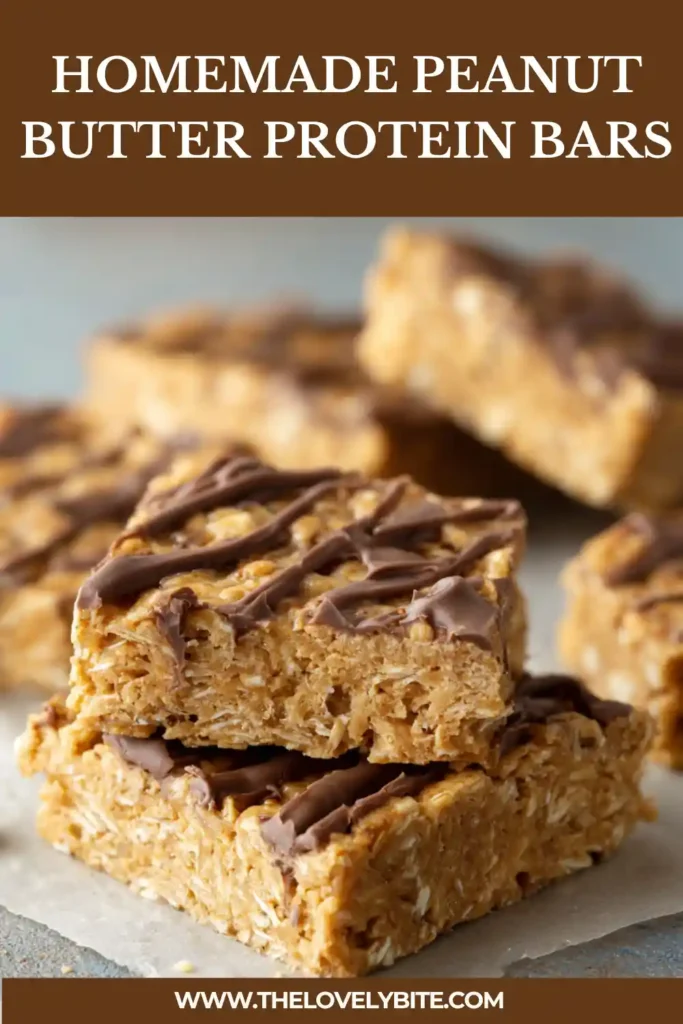
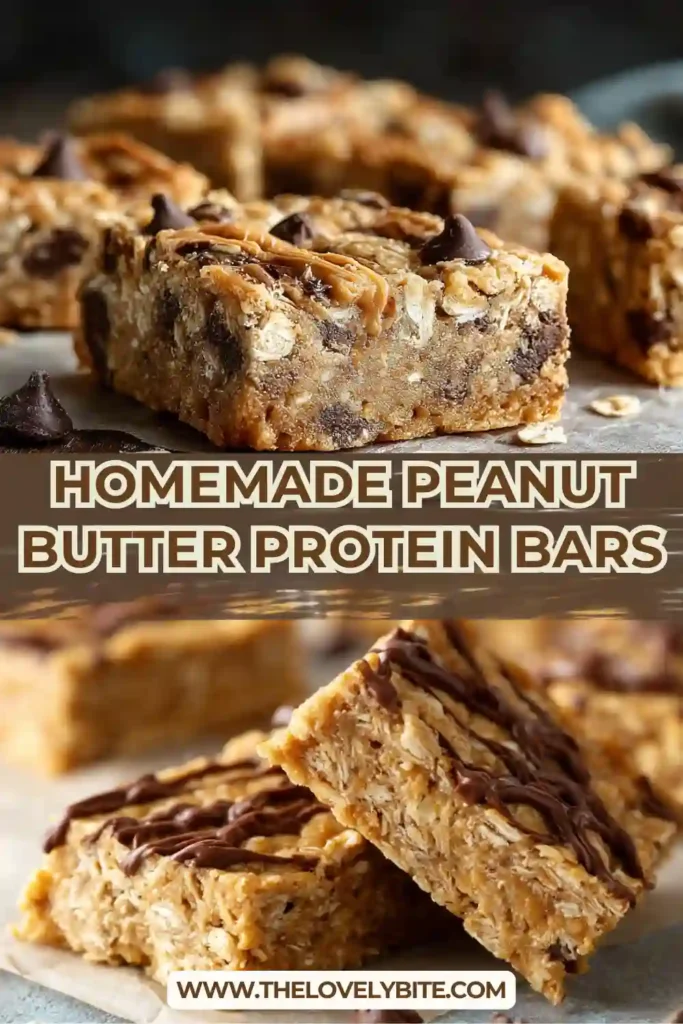
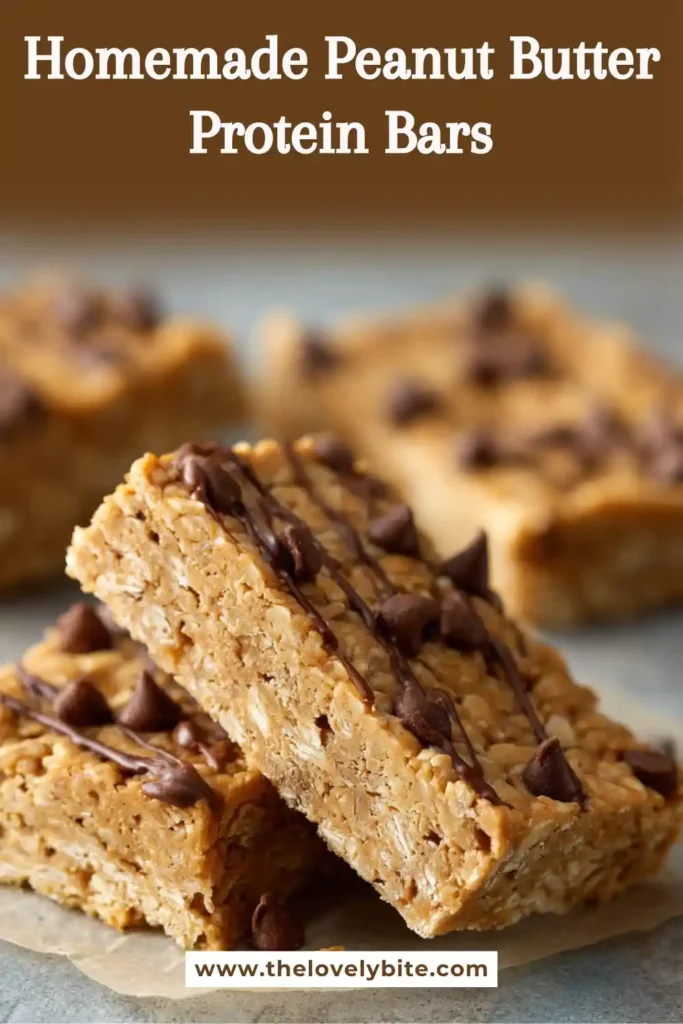
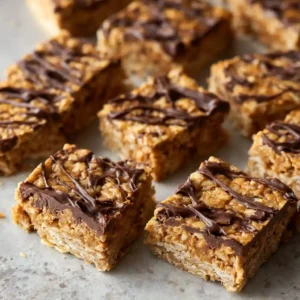
These Homemade Peanut Butter Protein Bars are the perfect healthy snack for busy mornings, post-workout fuel, or afternoon cravings. Packed with peanut butter, oats, protein powder, and chocolate chips, these no bake protein bars are chewy, satisfying, and incredibly easy to make at home.
Why You’ll Love This Recipe
- Easy no bake recipe with simple pantry ingredients
- Packed with protein and healthy fats
- Perfect for meal prep and grab-and-go snacks
- Kid-friendly and freezer-friendly
- Naturally sweetened with honey
- Soft, chewy texture with rich peanut butter flavor
Ingredients

- ⅔ cup creamy peanut butter
- 5 tablespoons honey
- 1½ tablespoons coconut oil
- 2 teaspoons vanilla extract
- ½ teaspoon salt
- ¼ teaspoon cinnamon
- 2 tablespoons flax meal
- 2 scoops protein powder
- 1⅔ cups old fashioned oats
- ⅓ cup shredded coconut
- ⅓ cup mini chocolate chips
- Flaked salt for topping
Instructions
- Spray or line an 8×8-inch or 9×9-inch pan with parchment paper and set aside.
- Add peanut butter, honey, and coconut oil to a microwave-safe bowl. Microwave for 30–45 seconds until softened, then stir until smooth.
- Stir in vanilla extract, salt, cinnamon, flax meal, protein powder, and oats until fully combined.
- Let the mixture cool slightly before folding in shredded coconut and mini chocolate chips.
- Press the Homemade Peanut Butter Protein Bars mixture evenly into the prepared pan.
- Sprinkle extra chocolate chips and flaked salt on top.
- Chill or freeze for 10–15 minutes until firm.
- Slice into bars or squares and serve.
Tips & Tricks
- Use natural peanut butter for a softer texture.
- If the mixture feels dry, add 1–2 teaspoons of milk.
- For extra crunch, add chopped almonds or walnuts.
- Keep the mixture cool before adding chocolate chips to prevent melting.
- Vanilla or chocolate protein powder both work well in this recipe.
Details
- Prep Time: 10 minutes
- Chill Time: 15 minutes
- Total Time: 25 minutes
- Yield: 10–12 bars
- Category: Snack
- Method: No Bake
- Cuisine: American
- Difficulty: Easy
- Dietary Notes: Vegetarian
Notes
- Swap honey with maple syrup for a different flavor.
- Use dairy-free chocolate chips for a dairy-free version.
- Add chia seeds or hemp hearts for extra nutrition.
- These bars pair perfectly with smoothies or coffee.
Nutrition
Approximate per serving:
- Calories: 220
- Protein: 10g
- Carbohydrates: 20g
- Fat: 12g
- Fiber: 4g
- Sugar: 8g
FAQ
Can I freeze Homemade Peanut Butter Protein Bars?
Yes, these bars freeze very well for up to 3 months.
What protein powder works best?
Vanilla or chocolate whey protein powder works best, but plant-based protein powder also works.
Can I make these bars gluten-free?
Yes, simply use certified gluten-free oats.
How long do they last in the fridge?
They stay fresh in an airtight container for up to 1 week.
Can I replace peanut butter?
Yes, almond butter or cashew butter are great substitutes.
Storage
Store Homemade Peanut Butter Protein Bars in an airtight container in the refrigerator for up to 7 days. Freeze individual bars for up to 3 months. Thaw overnight in the fridge or enjoy slightly frozen.
Similar Recipes
Homemade Peanut Butter Protein Bars
Ingredients
- ⅔ cup creamy peanut butter
- 5 tablespoons honey
- 1½ tablespoons coconut oil
- 2 teaspoons vanilla extract
- ½ teaspoon salt
- ¼ teaspoon cinnamon
- 2 tablespoons flax meal
- 2 scoops protein powder
- 1⅔ cups old fashioned oats
- ⅓ cup shredded coconut
- ⅓ cup mini chocolate chips
- Flaked salt for topping
Instructions
- Spray or line an 8×8-inch or 9×9-inch pan with parchment paper and set aside.
- Add peanut butter, honey, and coconut oil to a microwave-safe bowl. Microwave for 30–45 seconds until softened, then stir until smooth.
- Stir in vanilla extract, salt, cinnamon, flax meal, protein powder, and oats until fully combined.
- Let the mixture cool slightly before folding in shredded coconut and mini chocolate chips.
- Press the Homemade Peanut Butter Protein Bars mixture evenly into the prepared pan.
- Sprinkle extra chocolate chips and flaked salt on top.
- Chill or freeze for 10–15 minutes until firm.
- Slice into bars or squares and serve.
Notes
- Swap honey with maple syrup for a different flavor.
- Use dairy-free chocolate chips for a dairy-free version.
- Add chia seeds or hemp hearts for extra nutrition.
- These bars pair perfectly with smoothies or coffee.
Conclusion
These Homemade Peanut Butter Protein Bars are soft, chewy, and packed with delicious peanut butter flavor. They’re easy to make, loaded with protein, and perfect for healthy snacking throughout the week. Whether you need a quick breakfast, post-workout snack, or lunchbox treat, these homemade protein bars are guaranteed to become a family favorite.