
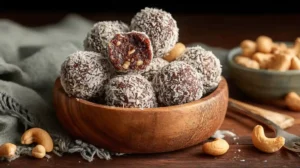
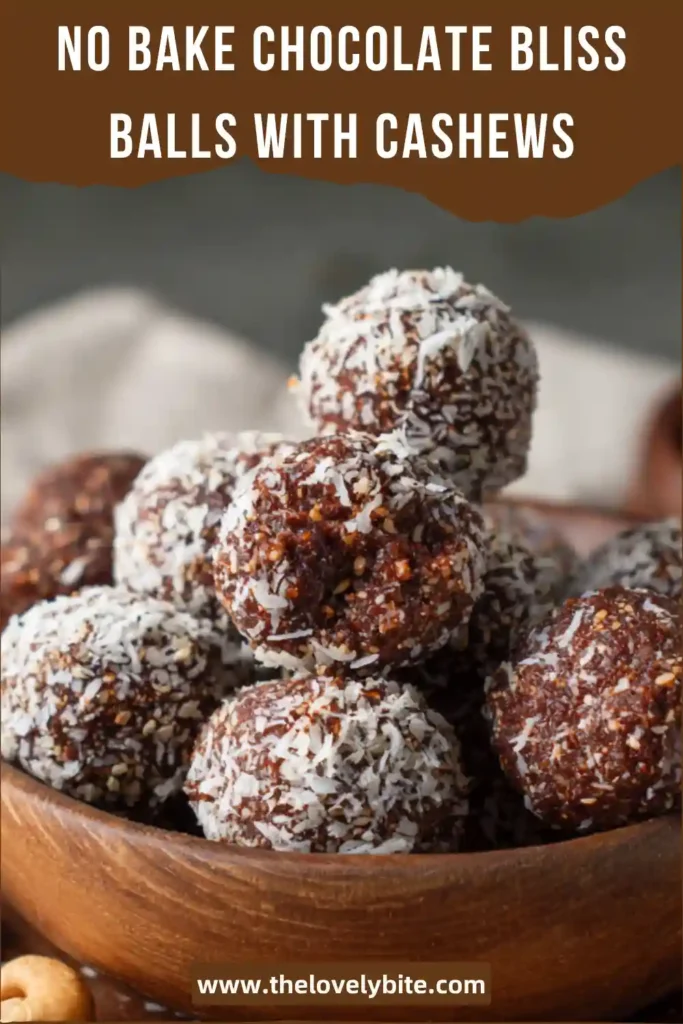
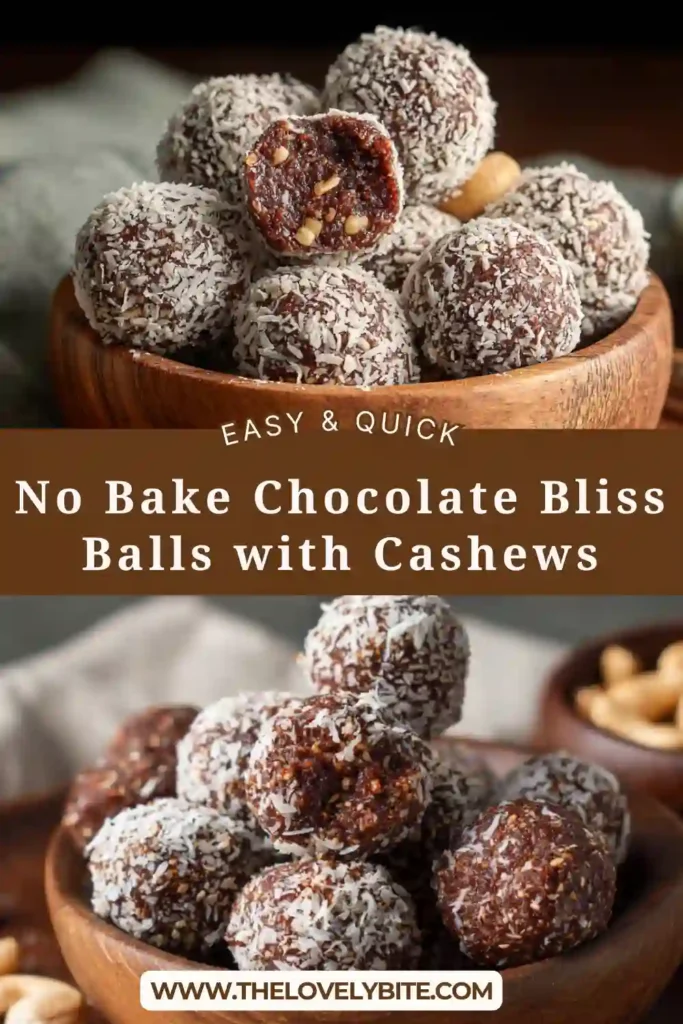
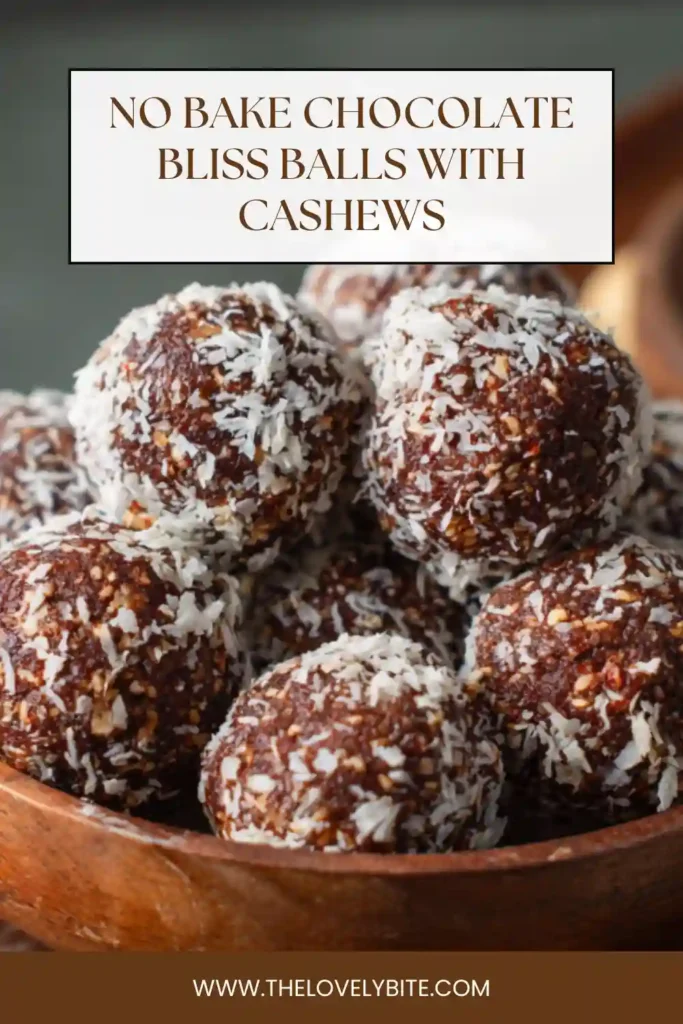
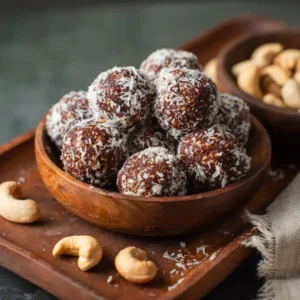
No Bake Chocolate Bliss Balls are the kind of easy treat you can make in minutes when you want something chocolatey, naturally sweet, and satisfying. Made with simple pantry ingredients, these little bites are soft, rich, and perfect for snacking, dessert, or a quick energy boost.
Why You’ll Love This Recipe
These chocolate bliss balls are wonderfully simple and full of deep cocoa flavor with a naturally sweet, chewy texture from Medjool dates. They are family-friendly, require no oven time, and come together with just a few wholesome ingredients. They are also great for meal prep and easy to keep on hand for busy days.
Ingredients
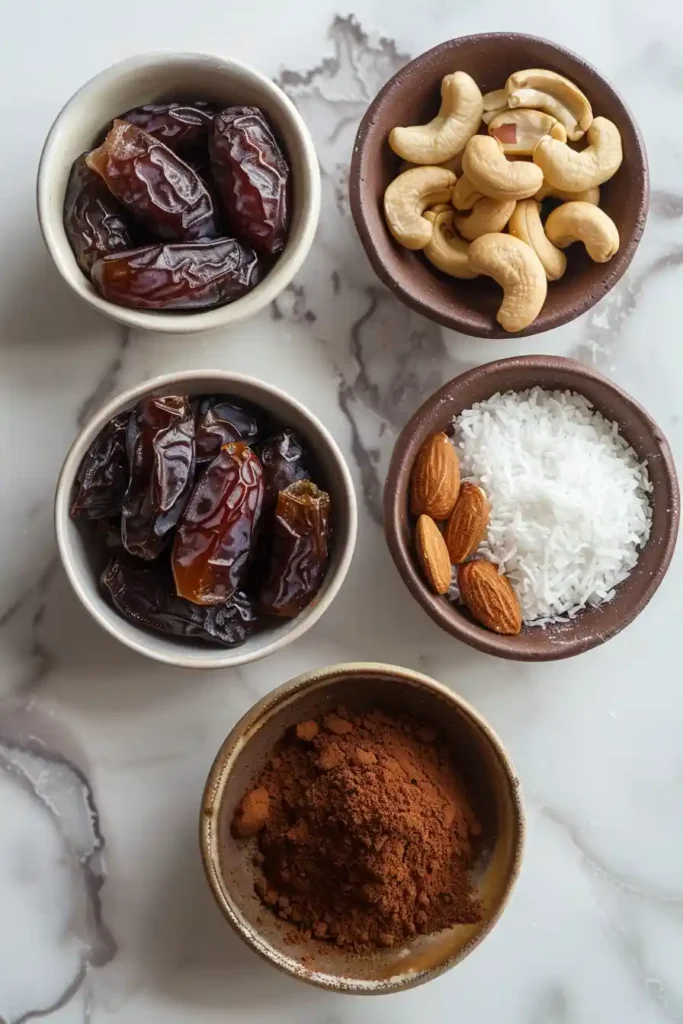
- 1 cup Medjool dates, pitted
- 1 cup cashews, unsalted
- 1/4 cup shredded coconut, unsweetened
- 1 tablespoon cocoa powder
- Pinch of salt
Instructions
- Add the Medjool dates, cashews, shredded coconut, cocoa powder, and salt to a food processor.
- Process until the mixture becomes smooth and starts to stick together, about 1 minute.
- Divide the mixture into 12 equal portions.
- Roll each portion between your hands to form neat balls.
- Serve right away, or chill before serving for a firmer No Bake Chocolate Bliss Balls texture.
Tips & Tricks
- If your dates feel dry, soak them in warm water for 5 to 10 minutes, then drain well before blending.
- For a richer chocolate flavor, add a little extra cocoa powder.
- If the mixture feels too sticky, add a small spoonful of shredded coconut.
- If it feels too dry, add 1 or 2 extra dates.
- Roll the finished balls in extra coconut, cocoa powder, or finely chopped cashews for more texture.
- Store them chilled for the best firm yet chewy bite.
Details
- Prep Time: 10 minutes
- Cook Time: 0 minutes
- Total Time: 10 minutes
- Yield: 12 bliss balls
- Category: Snack, Dessert
- Method: No Bake, Food Processor
- Cuisine: Healthy Snack, Modern
- Difficulty: Easy
- Dietary Notes: Vegan, Dairy-Free, Gluten-Free, Halal-Friendly, Refined Sugar-Free
Notes
These no bake chocolate energy bites are very flexible. You can swap cashews for almonds or walnuts for a slightly different flavor. For serving, pair them with coffee, pack them into lunchboxes, or enjoy them as a quick afternoon pick-me-up. They also make a lovely simple dessert platter addition.
Nutrition
Approximate per bliss ball
- Calories: 98
- Protein: 2 g
- Carbs: 10 g
- Fat: 6 g
FAQ
Can I make these bliss balls without a food processor?
A food processor works best for the smoothest texture, but a strong blender may also work if you stop and scrape down the sides often.
Are these chocolate bliss balls healthy?
They are made with simple ingredients like dates, cashews, coconut, and cocoa powder, making them a wholesome homemade snack option.
Can I freeze them?
Yes, they freeze very well. Place them in an airtight container and thaw as needed.
How do I keep the mixture from falling apart?
Usually that means the mixture is too dry. Add another date or process a little longer until it sticks together more easily.
Can I use salted cashews?
Yes. If using salted cashews, skip the extra pinch of salt in the recipe.
Are these good for meal prep?
Yes, No Bake Chocolate Bliss Balls are excellent for meal prep because they store well and are easy to grab on the go.
Storage
Store the bliss balls in an airtight container in the fridge for up to 1 week. For longer storage, freeze them for up to 2 months. To enjoy from frozen, let them sit at room temperature for a few minutes before eating. No reheating is needed.
Similar Recipes
No Bake Chocolate Bliss Balls with Cashews
Ingredients
- 1 cup Medjool dates pitted
- 1 cup cashews unsalted
- 1/4 cup shredded coconut unsweetened
- 1 tablespoon cocoa powder
- Pinch of salt
Instructions
- Add the Medjool dates, cashews, shredded coconut, cocoa powder, and salt to a food processor.
- Process until the mixture becomes smooth and starts to stick together, about 1 minute.
- Divide the mixture into 12 equal portions.
- Roll each portion between your hands to form neat balls.
- Serve right away, or chill before serving for a firmer No Bake Chocolate Bliss Balls texture.
Notes
Conclusion
These No Bake Chocolate Bliss Balls are proof that a simple recipe can still feel special. They are rich, chewy, chocolatey, and incredibly easy to make, which makes them perfect for beginners and busy home cooks alike. Keep a batch in your fridge and you will always have a quick homemade treat ready to enjoy.